
For the Vintage Candy Coating
-
2 cups (400 g) granulated sugar
-
1 cup (240 ml) water
-
½ cup (120 ml) light corn syrup (or glucose syrup)
-
½ teaspoon red food coloring (liquid or gel, adjust to preference)
-
½ teaspoon vanilla extract
-
Optional: ¼–½ teaspoon cinnamon oil or cinnamon extract for that old-timey candy flavor
Equipment You’ll Need
-
Medium heavy-bottomed saucepan
-
Candy thermometer (strongly recommended for perfect results)
-
Wooden spoon or heatproof spatula
-
Baking sheet lined with parchment paper or a silicone mat
-
Heatproof bowl of hot water and a cloth (for quick clean-up of drips)
Step 1 – Prepare the Apples
Candied apples stick best to clean, dry apple skin.
-
Wash the apples thoroughly to remove any wax coating.
-
Dry them very well with a clean towel.
-
Remove the stems and insert a wooden stick firmly into the top of each apple, pushing it at least halfway in.
-
Set the apples on a parchment-lined tray and make sure they’re completely dry before dipping.
Tip: If you suspect a lot of wax, you can dip apples quickly in hot water with a splash of vinegar, then dry well. Less wax = better candy adhesion.
Step 2 – Prepare the Candy Coating
-
In a medium heavy-bottomed saucepan, combine:
-
Sugar
-
Water
-
Corn syrup
-
-
Stir gently to moisten the sugar, then place over medium-high heat.
-
Do not stir once it starts boiling, as this can cause crystallization. You can swirl the pan gently if needed.
-
Clip a candy thermometer to the side of the pan, making sure the tip is in the syrup but not touching the bottom.
Let the mixture boil until it reaches the hard crack stage: 150°C / 300°F.
This can take around 15–20 minutes, depending on your stove.
While it heats, resist the temptation to keep stirring. Just watch the temperature and occasionally brush down sugar crystals on the side of the pan with a wet pastry brush if needed.
Step 3 – Color and Flavor the Candy
Once the syrup hits around 145–150°C / 293–300°F:
-
Remove the pan from the heat.
-
Quickly stir in:
-
Red food coloring
-
Vanilla extract
-
Cinnamon oil or extract (if using)
-
Stir gently but thoroughly until the color is even and the syrup is glossy and smooth.
Be careful – the syrup is extremely hot. Keep kids and pets away from the stove during this step.
Step 4 – Dip the Apples
-
Working quickly, tilt the pan slightly so the candy pools to one side.
-
Hold an apple by the stick and dip it into the syrup, turning it slowly to coat all sides up to the top.
-
Let excess syrup drip back into the pan and give the apple a little twist to smooth the coating.
-
Place the dipped apple onto the parchment-lined tray to set.
Repeat with the remaining apples.
If the syrup begins to thicken too much while you’re working, you can put the pan back on low heat briefly to loosen it, but watch carefully so it doesn’t burn.
The candy coating will start to set within a few minutes, becoming hard and shiny.
Step 5 – Let Them Cool & Set
-
Allow the candied apples to cool completely at room temperature.
-
Once the coating is hard and dry to the touch, they’re ready to serve.
You’ll get that classic “crack” sound when you bite through the shell and hit the juicy apple inside.
Storage & Serving
-
Best served the same day for maximum shine and crunch.
-
You can store them, individually wrapped in cellophane or parchment, at cool room temperature for 1–2 days.
-
Avoid the fridge if possible – condensation can make the candy sticky.
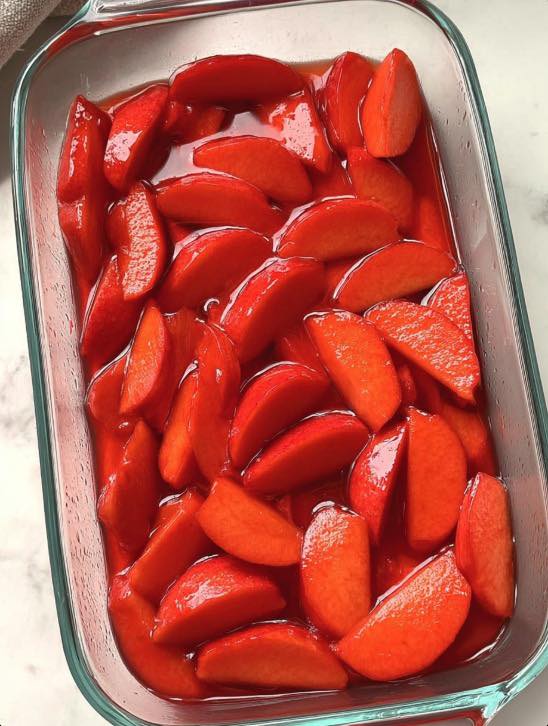
To eat, some people like to slice the apple into wedges with a sharp knife for easier sharing, especially for kids.
Tips for Perfect Vintage Candied Apples
-
Use a candy thermometer. The hard crack stage is important; undercooked syrup will be sticky and never fully harden.
-
Work quickly. Once the syrup is ready, it begins to thicken as it cools. Have the apples prepped and ready.
-
Don’t stir while boiling. Stirring can make the sugar crystallize and turn grainy.
-
Mind the color. Add more or less red coloring depending on how bright you want that vintage red fairground look.
-
Safety first. Hot candy can cause serious burns. Keep your movements slow and careful, and don’t touch the syrup.
Fun Variations
-
Cinnamon Red Hots Style:
Use cinnamon oil and a slightly deeper red color for a nostalgic cinnamon candy flavor. -
Sparkle Apples:
While the candy is still tacky (not fully set), roll the apples lightly in sparkling sugar or edible glitter for a vintage carnival look. -
Striped Vintage Apples:
Dip in red candy first, let set, then drizzle with melted white chocolate for an old-fashioned candy-shop style. -
Halloween Black Candied Apples:
Swap red coloring for black or deep purple, and use very dark apples for a spooky vintage feel.
