
Introduction
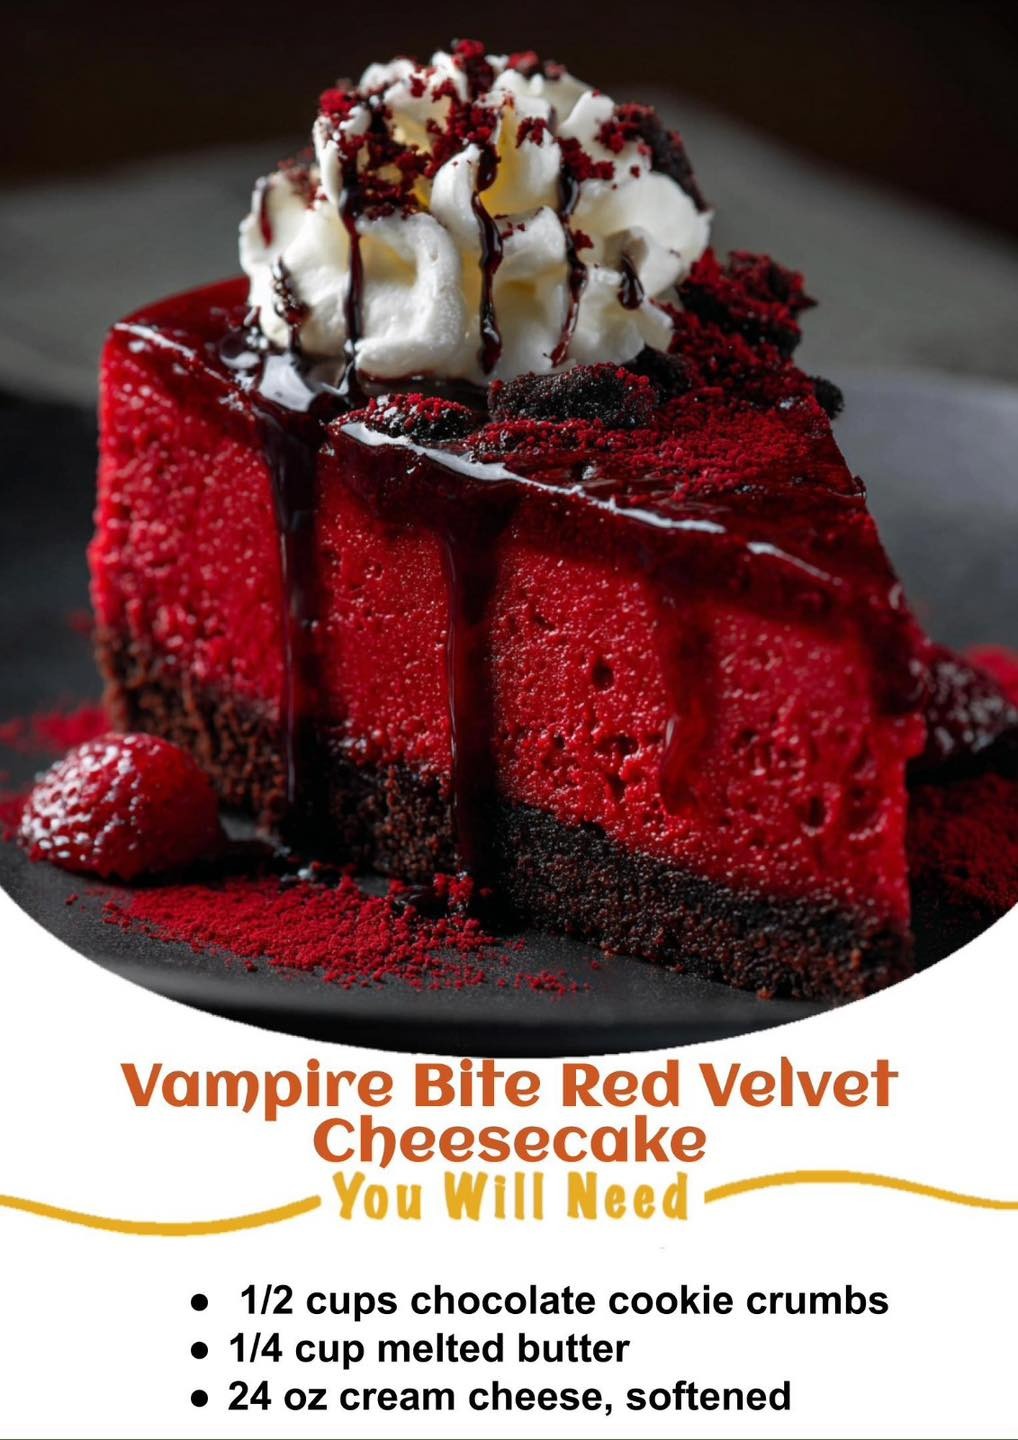
If you’re looking to make a dessert that steals the show, this vampire bite red velvet cheesecake is your answer. With its crimson‑red velvet base, silky cheesecake layer, and dramatic “blood” glaze that drips like vampiric bite marks, this dessert wows both the eyes and the palate. It’s ideal for Halloween, themed dinner parties, or any time you want to serve something memorable.
Why You’ll Love This Dessert

Dramatic appearance meets decadent flavour
The visual of dark‑velvet red cheese layered on top of a rich base, finished with a glossy, blood‑red glaze sets the mood. And the flavour? A smooth cheesecake filling paired with the mild cocoa‑kissed red velvet base—a combo that readers rave about in red velvet cheesecake recipes. recipetineats.com+1
Red velvet meets creamy cheesecake – Halloween friendly
By combining the red velvet cake concept with cheesecake, you get the best of both worlds: cake‑like base, creamy filling…and the dramatic “vampire bite” finish. Plus, it’s surprisingly achievable at home.
Ingredients
For the Red Velvet Base / Crust
-
2 cups (≈ 200 g) chocolate sandwich cookie crumbs (or red velvet cookies)
-
¼ cup (≈ 60 g) unsalted butter, melted
-
2 Tbsp unsweetened cocoa powder
-
Optional: 1 Tbsp red gel food colouring (for deeper red hue)
For the Cheesecake Layer

-
24 oz (≈ 680 g) cream cheese, softened to room temperature
-
1 cup (200 g) granulated sugar
-
3 large eggs, room temperature
-
1 cup (240 ml) sour cream or heavy cream
-
1 tsp vanilla extract
-
2 Tbsp cocoa powder (for subtle red velvet cocoa note)
-
1‑2 Tbsp red gel food colouring (optional for vivid red)
For the “Blood” Glaze / Vampire Bite Effect
-
¾ cup (≈ 180 ml) raspberry or cherry sauce (store‑bought or homemade)
-
2 Tbsp cocoa powder
-
2‑3 Tbsp corn syrup (to thicken for drips)
-
Optional: Black chocolate ganache (for accent drips)
-
Optional: Red cookie crumbs or chocolate cookie pieces for garnish
Instructions
Step 1: Pre‑heat & prepare springform pan

Preheat oven to 325 °F (≈ 163 °C). Grease a 9‑inch (23 cm) springform pan and line the bottom with parchment paper for easier removal. Wrap the outside of the pan with foil if using a water bath.
Step 2: Make crust/base and set
In a medium bowl, combine cookie crumbs, cocoa powder and melted butter. Press firmly into the bottom of the springform pan to form the base. Chill in the refrigerator while you make the cheesecake layer.
Step 3: Prepare cheesecake filling
In a large bowl or stand mixer, beat the softened cream cheese until completely smooth. Gradually add sugar and beat until well combined. Add eggs one at a time, mixing gently after each. Mix in sour cream (or heavy cream), vanilla extract, cocoa powder and red food colouring until the filling is uniformly red and smooth.
Pour the cheesecake mixture over the chilled base, smoothing the top.
Step 4: Bake (or chill) the cheesecake layer
Place in the pre‑heated oven. If using water bath: fill roasting pan with hot water and set springform inside. Bake for about 55‑65 minutes until the edges are set and the centre still slightly jiggles. Turn off oven, leave door slightly open and let the cheesecake cool inside for ~1 hour. Then refrigerate for at least 4 hours (preferably overnight).
Step 5: Make the “blood” glaze and decorate vampire bite drips
While cheesecake chills, prepare the glaze: Combine raspberry/cherry sauce, cocoa powder and corn syrup in a saucepan over low heat. Stir until smooth and slightly thickened (so it will drip slowly rather than run off). Let cool slightly.
Once cheesecake is fully chilled and set, release from springform and place on serving plate. Slowly drizzle the glaze onto the top centre of the cheesecake, allowing streaks (the “bite marks”) to drip down the sides like vampire icicles. Optionally add touches of melted black chocolate ganache for dramatic accent. Sprinkle red cookie crumbs or chocolate cookie pieces for garnish.
Step 6: Chill completely, slice, serve
Return to refrigerator for ~30 minutes after decorating to let glaze set slightly. Then slice with a hot, clean knife (wipe between cuts) for clean slices. Serve chilled.
Tips for Success
-
Use room‑temperature cream cheese and eggs to ensure a smooth batter and prevent lumps. Sallys Blog+1
-
Avoid over‑mixing the batter (especially after adding eggs) to minimize air bubbles and cracking.
-
Cooling the cheesecake gradually (in the oven with door ajar) helps prevent large cracks.
-
For cleaner slices, run a hot knife under water, wipe dry, then slice and wipe between cuts.
-
For best presentation, assemble and decorate shortly before serving.
Variations
-
No‑bake version: Use a no‑bake cheesecake filling and skip the bake; set in fridge for 6+ hours.
-
Mini cheesecakes: Make in muffin tins or mini springform pans for individual servings.
-
Chocolate raspberry version: Use a chocolate cookie crust and top with raspberry ganache for a richer finish.
-
Vegan or gluten‑free: Use dairy‑free cream cheese, gluten‑free cookies for crust; use vegan gelatin or agar for setting no‑bake version.
Ingredient Substitutions
-
Use gluten‑free chocolate sandwich cookies for crust for gluten‑free version.
-
Sour cream can be swapped with Greek yogurt (for slightly tangier flavour).
-
If you prefer less food colouring, use natural beet juice powder for red hue, though colour may be lighter.
-
Corn syrup in glaze can be substituted with golden syrup or agave nectar though drip behaviour may differ slightly.
Storage & Serving Suggestions
Store leftover cheesecake covered in the refrigerator for up to 3–4 days. Keep it chilled until serving. For clean slices, bring ~10 minutes to room temperature before cutting. Freezing is possible: wrap tightly and freeze up to 1 month; thaw overnight in fridge and decorate before serving again.
What to Serve With This Cheesecake
-
Fresh raspberries or blackberries to echo the berry “blood” theme.
-
Whipped cream or vanilla ice cream for extra indulgence.
-
A hot espresso, black coffee or a bold red wine to complement the richness.
-
Best served on a contrasting dark or rustic platter to accentuate the red colours.
Nutrition Facts (approximate per slice, 1/12 of pie)
~ 450‑500 calories, ~30 g fat, ~37 g carbohydrates, ~6‑8 g protein. (Exact values depend on ingredients and portion size.)
FAQs
Q: Can I make this ahead for Halloween?
A: Yes — this cheesecake actually benefits from chilling overnight. Decorate a few hours before serving for best effect.
Q: How do I prevent the cheesecake from cracking?
A: Use a water bath or a well‑wrapped springform, ensure ingredients are room‑temperature, avoid over‑mixing, and cool slowly (e.g., leave in oven with door ajar after bake).
Q: Can I skip the red food colouring?
A: Yes—but the dramatic “vampire bite” appearance relies on vivid red. Without food colouring you may get a muted tone; consider using natural beet powder or deeper cocoa base for contrast.
Q: Will the “blood” glaze run off all sides?
A: If the glaze is too thin, yes. Ensure it’s slightly thickened and drizzle slowly from centre. Use a chilled cake surface for better control.
Related Recipes
-
Classic Red Velvet Cheesecake
-
Halloween Spider‑Web Chocolate Cheesecake
-
Raspberry Swirl Cheesecake
Conclusion
If you want a dessert that’s fun, dramatic and unforgettable, go for this vampire bite red velvet cheesecake. Bold colour, rich texture, and a spooky yet elegant finish make it perfect for themed gatherings or anytime you want to make a statement. Prepare ahead, decorate with flair, chill thoroughly—and serve up slices that’ll leave guests enchanted (or a little spooked!).
