
-
In a food processor, combine the crushed chocolate cookies and softened cream cheese until a smooth dough forms.
-
Add peppermint extract and pulse just to combine.
4.2 Shape and chill
-
Line a baking sheet with parchment paper.
-
Scoop about 1 Tbsp of dough (or roll slightly larger if you like) into a ball and place on the lined sheet. Repeat until all dough is used (you’ll get roughly 30 balls).
-
Chill in the freezer or fridge for about 15‑30 minutes until firm.
4.3 Coat and decorate
-
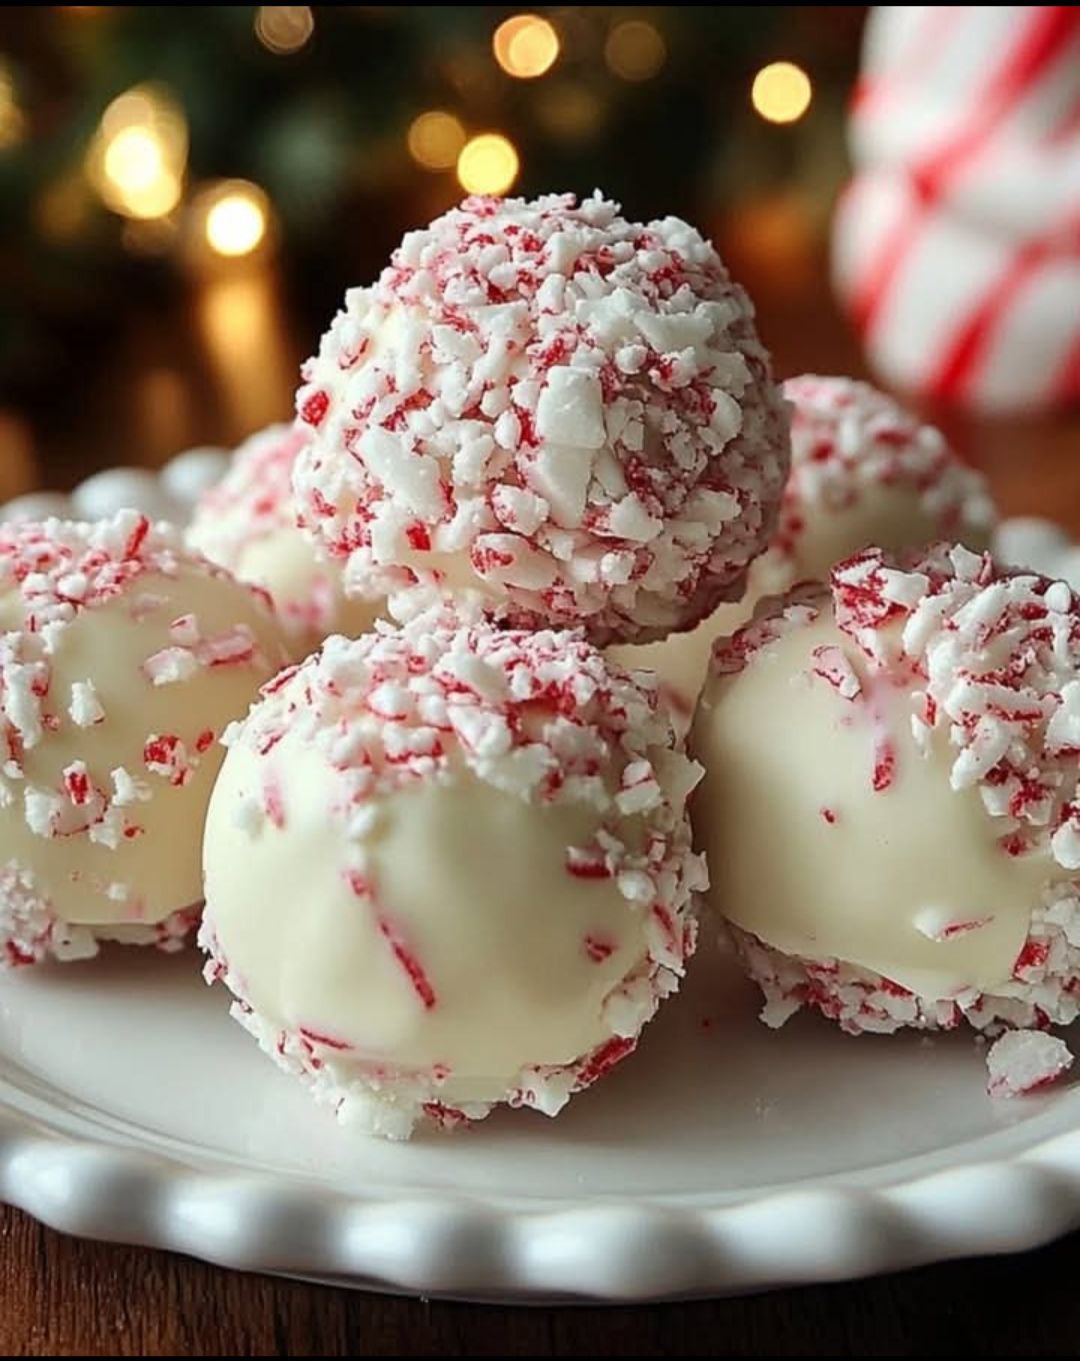
Melt the white chocolate according to package instructions (double‑boiler or microwave in short bursts, stirring frequently).
-
Using a fork or dipping tool, dip each chilled ball into the melted white chocolate, tap off excess, then place back on the parchment.
-
While the coating on each ball is still wet, sprinkle with crushed candy canes.
-
Let the snowballs set fully (you can return to fridge/freezer for 10–15 minutes).
-
Store in an airtight container. Serve chilled.
Tips for Success
-
Make sure your cream cheese is fully softened so it mixes smoothly.
-
Chilling the balls before coating helps avoid them falling apart during dipping.
-
Use melting wafers or reliable white chocolate — some white chocolate chips don’t set as cleanly.
-
When dipping, work quickly so the candy cane pieces stick while the coating is still wet.
-
For best texture, serve them chilled — the coating stays crisp and the filling holds together.
Variations
-
Use dark or milk chocolate coating instead of white for a chocolate‑mint contrast.
-
Add finely chopped nuts (like pistachios) on top with the candy canes for extra crunch.
-
Make “mini” versions by rolling smaller balls (about ½ Tbsp each) for bite‑sized portions.
-
Add ¼ cup melted peppermint bark pieces into the dough for extra peppermint texture.
Ingredient Substitutions
-
Cream cheese → Sub with mascarpone or a dairy‑free cream cheese substitute for a vegan version.
-
Crushed cookies → Use gluten‑free sandwich cookies if you need gluten‑free.
-
White chocolate → Use vegan white chocolate if desired.
-
Candy canes → Use peppermint crunch or even shaved dark chocolate with peppermint essence.
Storage & Reheating
-
Storage: Keep in an airtight container in the fridge. They will keep up to 1‑2 weeks. Freeze for up to 2 months.
-
Serving: You can serve directly from the fridge. If frozen, thaw for about 5‑10 minutes before serving.
-
Reheating: No reheating needed — they’re meant to be served chilled.
What to Serve With These Snowballs
Pair them with:
-
A hot chocolate or peppermint mocha for extra festivity.
-
A simple coffee or espresso to balance the sweetness.
-
Other holiday treats like gingerbread cookies or shortbread for a dessert platter.
-
A glass of cold milk (classic!) for younger guests.
Nutrition Facts (approximate per ball)
Calories: ~120 kcal
Fat: ~6‑7 g
Carbohydrates: ~12‑14 g
Protein: ~1 g
Sugar: ~10 g
(Note: values vary depending on size, coating, and exact ingredients used.)
FAQs
Q: Can I make these ahead of time?
A: Yes — you can make the balls, chill, and store them up to a few days ahead. You can even freeze them and then thaw before serving.
Q: Can I skip the peppermint flavor?
A: Absolutely. Omit the peppermint extract and candy canes and you’ll have white chocolate cookie truffles.
Q: Do they need to be refrigerated?
A: Yes — since there’s cream cheese and coating, refrigeration helps keep texture and safety.
Related Recipes
-
[No‑Bake Peppermint Bark Cheesecake] — a creamy holiday cheesecake with the same mint‑chocolate vibe.
-
[Chocolate Mint Truffles] — similar concept but with dark chocolate and mint filling.
-
[Peppermint Mocha] — a cozy drink pairing for your snowballs.
Conclusion
These no‑bake peppermint bark snowballs are the perfect festive treat: easy to make, full of mint‑chocolate goodness, and no oven required. Whether you’re prepping for holiday guests or a cozy night in, they’ll bring joy and flavor. Enjoy making them — and happy holidays!
