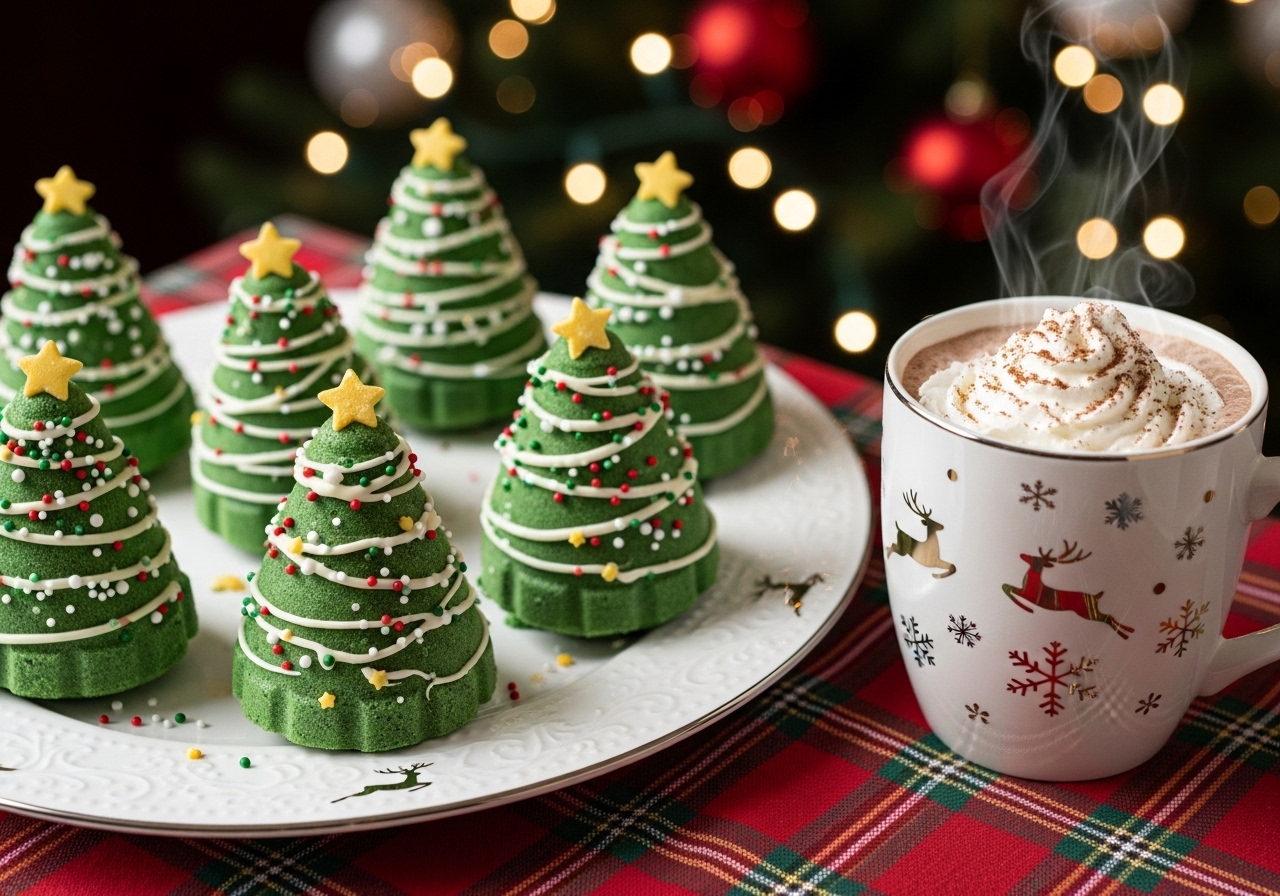
For Decoration (optional but fun)
-
50–70 g white chocolate (for drizzling)
-
Sprinkles: stars, tiny balls, Christmas colors
-
Edible glitter or luster dust (optional)
Step 1 – Melt and Color the Chocolate
If using candy melts
-
Place the green candy melts in a heatproof bowl.
-
Microwave in 20–30 second bursts, stirring in between, until smooth and fully melted.
If using white chocolate
-
Finely chop the white chocolate and place in a heatproof bowl.
-
Microwave in 15–20 second bursts, stirring often, until just melted and smooth.
-
Add a few drops of green oil-based food coloring and stir until you get a nice Christmas tree shade.
Don’t use water-based color – it can make your chocolate seize.

Step 2 – Make the First Chocolate Layer
-
Place your clean, dry silicone Christmas tree mold on a tray or flat board.
-
Spoon about 1–2 teaspoons of melted chocolate into each cavity.
-
Use the back of a spoon or a small brush to spread the chocolate up the sides, covering every part in a thin, even layer.
-
Turn the mold upside down over the bowl to let any excess drip back in.
-
Place the mold in the fridge for 5–10 minutes until set.
Step 3 – Add a Second Layer (Important!)
To make the shells strong enough:
-
Take the mold out of the fridge.
-
Add another small spoonful of melted chocolate into each tree cavity.
-
Again, spread it over the bottom and sides, focusing on thicker edges.
-
Chill again for 10–15 minutes until fully hardened.
You want a firm shell that doesn’t crack easily when you remove it.
Step 4 – Unmold the Chocolate Trees
-
Gently peel the silicone mold away from the chocolate shapes.
-
Carefully pop each hollow tree shell out.
-
Place them on a clean surface lined with parchment paper.
If any shells crack, you can remelt a little chocolate and “glue” them from the inside, or just melt and redo that cavity.
Step 5 – Fill the Christmas Tree Shells
-
Set half of the trees aside to use as tops, and half as bases.
-
In each base tree, add:
-
1 heaping tablespoon hot cocoa mix
-
A small handful of mini marshmallows
-
Don’t overfill; you still need space to close them.
Step 6 – Seal the Cocoa Bombs
You need to gently melt the edges of the “top” pieces so they stick to the “bottom” pieces.
Option A – Warm plate method
-
Heat a plate in the microwave for 30–40 seconds (warm, not scorching).
-
Take one empty tree shell (the top), and gently press the open edge onto the warm plate for 1–2 seconds, just until the edge begins to soften.
-
Quickly place it on top of a filled tree and press lightly to seal.
Option B – Extra chocolate “glue”
-
Use a small piping bag or spoon to apply a thin line of melted chocolate around the edge of a filled tree.
-
Place an empty tree shell on top and press gently together.
-
Let set.
Repeat until all cocoa bombs are closed and look like solid mini Christmas trees.
Let them sit at room temperature or in the fridge for a few minutes to fully firm up.
Step 7 – Decorate the Trees
Now make them adorable 🎄
-
Melt the white chocolate (same method: short microwave bursts, stirring until smooth).
-
Transfer to a small piping bag or zip bag and cut a tiny tip.
-
Drizzle the white chocolate over each tree like garlands.
-
While it’s still wet, add sprinkles:
-
Little stars at the top
-
Colored balls like ornaments
-
A bit of edible glitter for a magical snowy effect
-
Let the decorations set completely.
How to Use the Hot Cocoa Bombs
To serve:
-
Place one Christmas Tree Hot Cocoa Bomb in a large mug.
-
Heat 240–300 ml (1–1¼ cups) of milk until steaming hot (not boiling).
-
Pour the hot milk over the cocoa bomb.
-
Watch it melt, crack open, and release cocoa + marshmallows.
-
Stir well until fully combined.
-
Sip and enjoy your festive hot chocolate!
Storage
-
Store finished cocoa bombs in an airtight container at room temperature (cool, dry place) for up to 2–3 weeks.
-
Keep away from heat and direct sunlight so they don’t soften or bloom.

